
vue
1、开发环境准备
安装node https://nodejs.org/en/
安装Vue工具
Vue CLi 安装命令:npm install -g @vue/cli
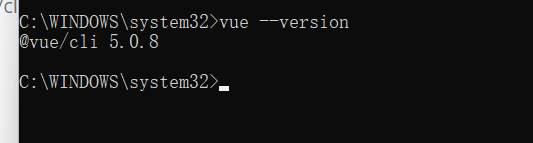
安装之后查看
vue –version
vue 官网:https://cn.vuejs.org/
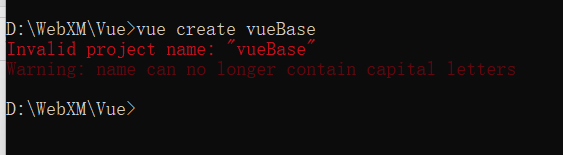
2、创建项目
vue create 项目名
注意:项目名字不能大写
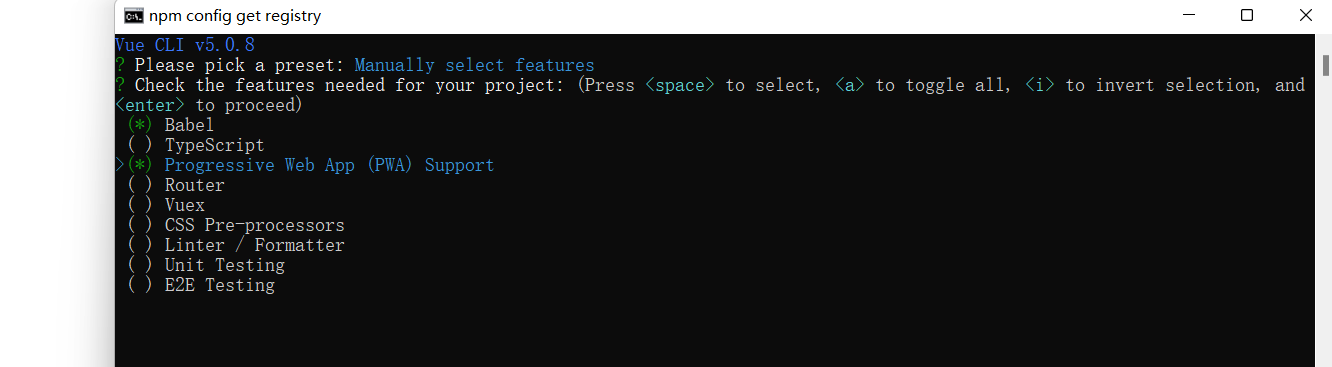
选择
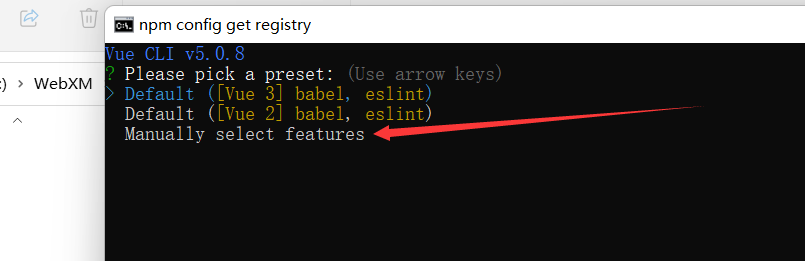
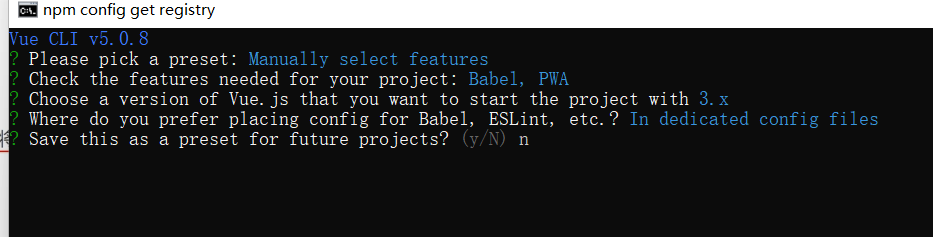
根据自己的需要选择
默认即可
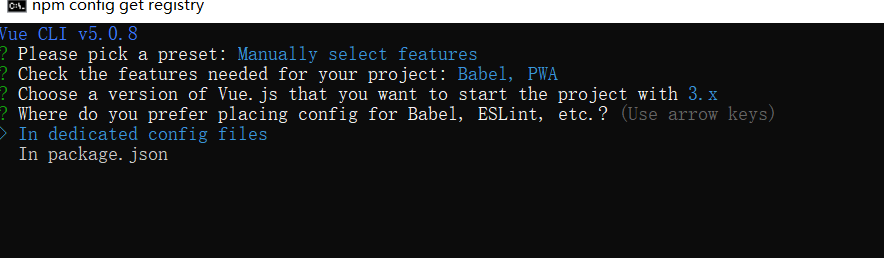
输入n即可
根据提示运行项目
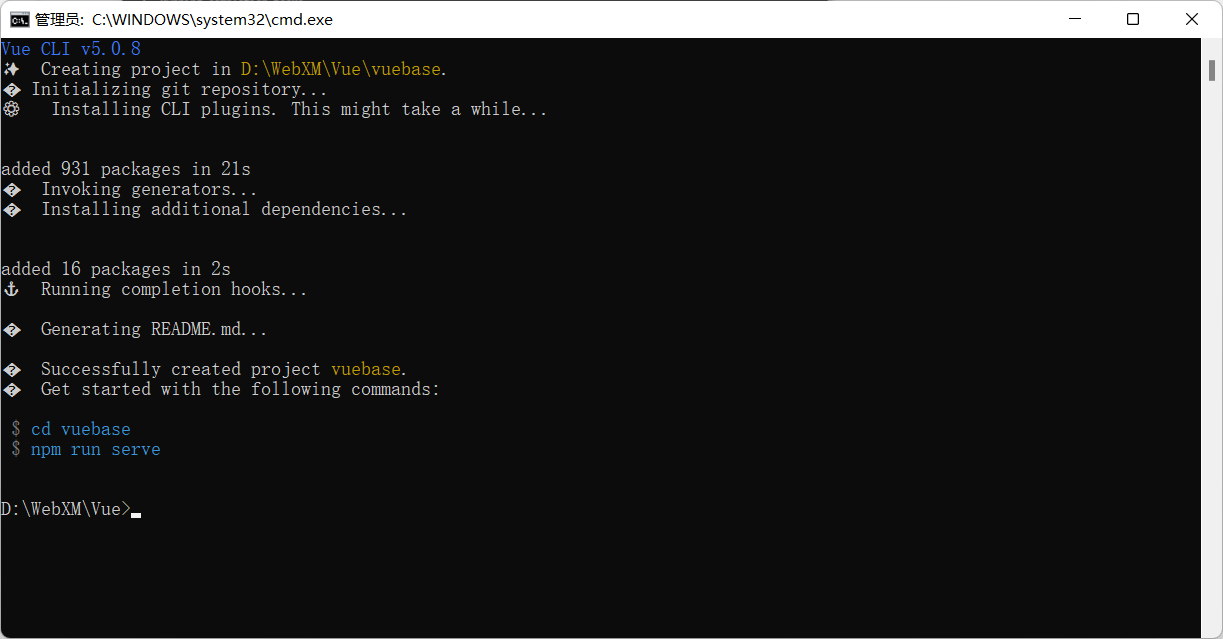
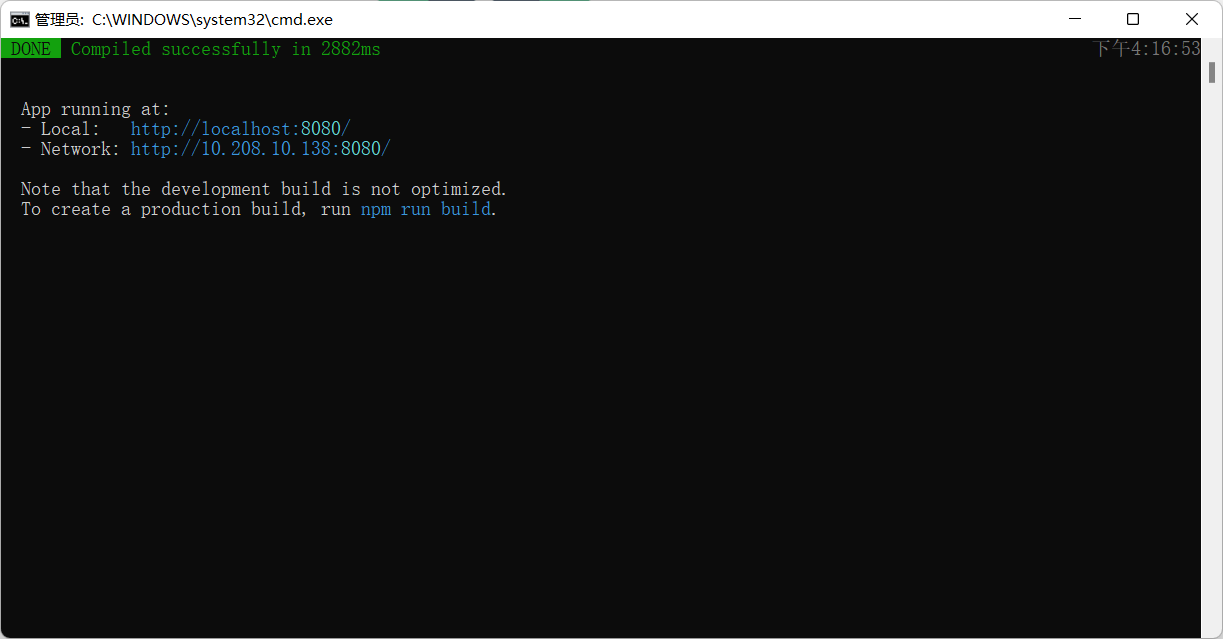
启动成功
3、模板语法
<template>
  <div>
    <h3>学习模板语法</h3>
    <p>{{message}}</p>
  </div>
</template>

<script>
export default {
  name: 'HelloWorld',
  data() {
    return {
      message:"测试"
    }
  }
}
</script>
1、v-html  解析html标签
2、v-bind  响应式地绑定
3、v-if、v-else  根据值的真假移除或添加元素
4、v-show   根据值的真假显示或隐藏元素
4、列表渲染
v-for
<template>
<div>
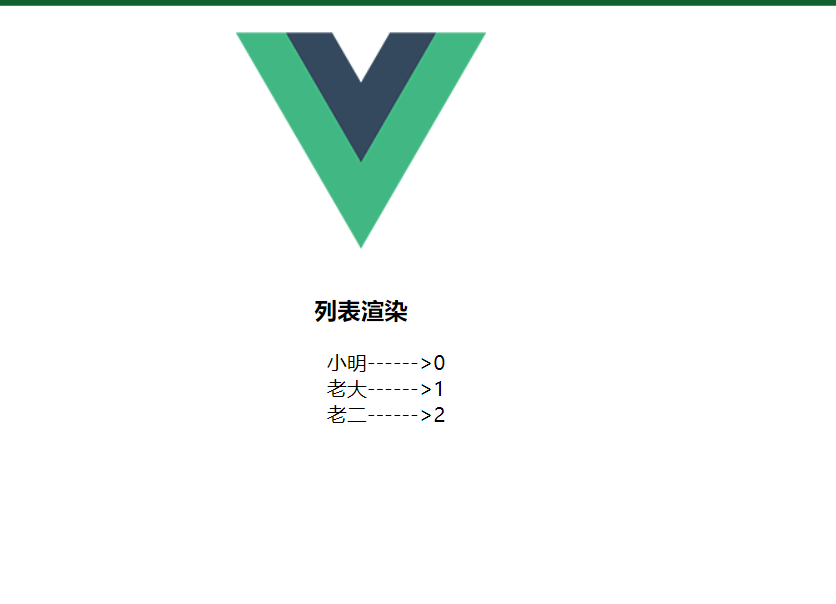
<h3>列表渲染</h3>
<ul>
<li v-for="(item,index) in names">{{ item.name }}------>{{ index }}</li>
</ul>
</div>
</template>
<script>
export default {
name: 'HelloWorld',
data() {
return {
names: [
{id: 1, name: "小明"},
{id: 2, name: "老大"},
{id: 3, name: "老二"}
]
}
}
}
</script>
<style scoped>
ul {
list-style: none;
}
</style>
注意
<li v-for="(item,index) in names" :key="item.id">{{ item.name }}------>{{ index }}</li>
:key="item.id" 在数组元素改变时,会只重新渲染改变的数据,其它没变的不会重新渲染
减少性能的消耗
5、事件处理
@click或v-on:click
<template>
<div>
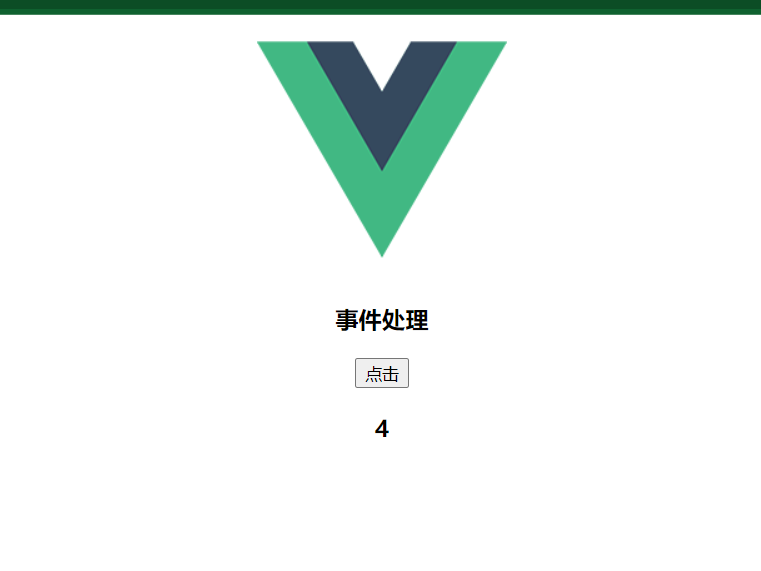
<h3>事件处理</h3>
<button v-on:click="dianJi">点击</button>
<h3>{{num}}</h3>
</div>
</template>
<script>
export default {
name: 'HelloWorld',
data() {
return {
num: 0
}
},
methods: {
dianJi() {
this.num += 1;
}
}
}
</script>
<style scoped>
ul {
list-style: none;
}
</style>
6、双向数据绑定
v-model
<template>
  <div>
    <h3>双向数据绑定</h3>
    <input type="text" v-model="username">
    <h3>{{username}}</h3>
  </div>
</template>

<script>
export default {
  name: 'HelloWorld',
  data() {
    return {
      username: ""
    }
  }
}
</script>

<style scoped>
ul {
  list-style: none;
}
</style>

1、v-model.lazy  加上后输入数据回车或失去焦点才进行同步
2、v-model.trim 去除输入的空格
7、单文件组件
1、组件内容
<template>
  <div>
    <h3>单文件组件</h3>
  </div>
</template>

<script>
export default { //导出
  name: "MyComponents",
  data() {
    return {}
  }
}
</script>
//scoped 添加这属性 组件内设置的样式只会作用在这个组件
<style scoped>
h3 {
  color: red;
}
</style>
2、加载组件
1、引入组件  import myComponents from "@/components/MyComponents";
2、挂载组件components: {myComponents}
3、显示组件<my-components/>

8、组件交互
props 父组件向子组件传值
 1、在父组件定义好值
  data() {
    return {
      title: "我是一个标题",
      age: 100
    }
  }
2、在显示组件上引用
<my-components :oneHiz="title" :age="age"/>
3、最后在子组件上使用
export default {
  name: "MyComponents",
  props:{
    oneHiz:{ //需要定义类型
      type:String,
      default:""
    },
    age:{
      type:Number,
      default:0
    }
  }
}
9、自定义事件组件交互
现在子组件定义传递的值和事件
<template>
  <div>
    <h3>自定义组件传递数据</h3>
    <button @click="sendFather">发送</button>
  </div>
</template>

<script>
export default {
  name: "MyComponents",
  data() {
    return {
      msg: "我是MyComponents数据"
    }
  },
  methods: {
    sendFather() {
      //参数1: 字符串
      //参数2: 传递的数据
      this.$emit("onEvent", this.msg)
    }
  }
}
</script>

<style scoped>
h3 {
  color: red;
}
</style>
父组件接受值
<template>
  <div>
    <img alt="Vue logo" src="./assets/logo.png">
    <my-components @onEvent="getData"/>
  </div>
</template>

<script>

import myComponents from "@/components/MyComponents";

export default {
  name: 'App',
  components: {
    myComponents
  },
  methods: {
    getData(data) {
      console.log(data)
    }
  }
}
</script>

<style>
div {
  width: 400px;
  height: 400px;
  text-align: center;
  margin: 0 auto;
}
</style>
作用:子组件向父组件传递值
时间:2022-10-28 晚上
原文地址:http://www.cnblogs.com/huxiaoan1/p/16837801.html
1. 本站所有资源来源于用户上传和网络,如有侵权请邮件联系站长!
2. 分享目的仅供大家学习和交流,请务用于商业用途!
3. 如果你也有好源码或者教程,可以到用户中心发布,分享有积分奖励和额外收入!
4. 本站提供的源码、模板、插件等等其他资源,都不包含技术服务请大家谅解!
5. 如有链接无法下载、失效或广告,请联系管理员处理!
6. 本站资源售价只是赞助,收取费用仅维持本站的日常运营所需!
7. 如遇到加密压缩包,默认解压密码为"gltf",如遇到无法解压的请联系管理员!
8. 因为资源和程序源码均为可复制品,所以不支持任何理由的退款兑现,请斟酌后支付下载
声明:如果标题没有注明"已测试"或者"测试可用"等字样的资源源码均未经过站长测试.特别注意没有标注的源码不保证任何可用性