
内容概要
- 1.首页中间部分样式
- 2.多方式登录接口
- 2.1视图类
- 2.2序列化类
- 2.3路由
- 3.手机号是否存在接口
- 3.1视图类
- 4.腾讯云短信介绍和申请
- 4.1什么是api,什么是sdk
1 首页中间部分样式
<div class="course">
      <el-row>
        <el-col :span="6" v-for="(o, index) in 8" :key="o" class="course_detail">
          <el-card :body-style="{ padding: '0px' }">
            <img src="https://tva1.sinaimg.cn/large/e6c9d24egy1h1g0zd133mj20l20a875i.jpg"
                 class="image">
            <div style="padding: 14px;">
              <span>推荐课程</span>
              <div class="bottom clearfix">
                <time class="time">价格:999</time>
                <el-button type="text" class="button">查看详情</el-button>
              </div>
            </div>
          </el-card>
        </el-col>
      </el-row>
    </div>
    <img src="https://tva1.sinaimg.cn/large/e6c9d24egy1h1g112oiclj224l0u0jxl.jpg" alt="" width="100%" height="500px">


<style scoped>
.time {
  font-size: 13px;
  color: #999;
}

.bottom {
  margin-top: 13px;
  line-height: 12px;
}

.button {
  padding: 0;
  float: right;
}

.image {
  width: 100%;
  display: block;
}

.clearfix:before,
.clearfix:after {
  display: table;
  content: "";
}

.clearfix:after {
  clear: both
}

.course_detail {
  padding: 50px;
}
</style>
2 多方式登录接口
# 登录注册
	1 多方式登录 【用户名、邮箱、手机号+密码】
    4 校验手机号是否存在


    2 验证码登录
    3 发送验证码
    5 手机号注册接口


# 多方式登录
	-{username:用户名/邮箱/手机号,password:123}---->post请求
    -之前写的逻辑,校验用户,是写在视图类的方法中
    -今天写:咱们把逻辑写在序列化类中
视图类
# post--->查询--->自动生成路由,action装饰器可以在视图类中写多个函数
from rest_framework.viewsets import ViewSet, GenericViewSet, ViewSetMixin
from rest_framework.decorators import action
from .models import UserInfo
from .serializer import UserMulLoginSerializer

from utils.response import APIResponse


class UserView(ViewSet):
    @action(methods=['POST'], detail=False)
    def mul_login(self, request):
        # 1 老写法
        # username=request.data.get('username')
        # password=request.data.get('password')
        # # 查询用户,
        # UserInfo.objects.filter(username=username,password=password)
        # # 签发token
        # # 返回
        # 2 新写法:使用序列化类
        ser = UserMulLoginSerializer(data=request.data)
        # jwt 模块的登录就是这么写的
        ser.is_valid(raise_exception=True)  # 会执行:序列化类字段自己的校验规则,局部钩子,全局钩子
        # 用户名密码校验通过了,在序列化类中--》签发token
        token = ser.context.get('token')
        username = ser.context.get('username')
        icon = ser.context.get('icon')  # icon是个对象  字符串
        return APIResponse(token=token, username=username,
                           icon=icon)  # 前端看到的样子{code:100,msg:成功,token:adsfa,username:root,icon:http://adsfasd.png}
序列化类
from rest_framework import serializers
from .models import UserInfo
import re
from django.contrib.auth import authenticate
from rest_framework.exceptions import ValidationError
from rest_framework_jwt.settings import api_settings

jwt_payload_handler = api_settings.JWT_PAYLOAD_HANDLER
jwt_encode_handler = api_settings.JWT_ENCODE_HANDLER


# 这个序列类,只用来做登录校验,不做序列化,不做反序列化
class UserMulLoginSerializer(serializers.ModelSerializer):
    username = serializers.CharField()  # 重写,优先用现在的,就没有unique的限制了

    class Meta:
        model = UserInfo
        fields = ['username', 'password']

    # 封装之隐藏属性  __表示隐藏, _并不是隐藏,公司里约定俗成用 _ 表示只在内部用,如果外部想用,也可以用
    def _get_user(self, attrs):
        # attrs 是校验过后的数据:字段自己的规则【字段自己有规则:坑】和局部钩子
        username = attrs.get('username')
        password = attrs.get('password')
        # username可能是用户名,邮箱,手机号---》使用正则判断
        if re.match(r'^1[3-9][0-9]{9}$', username):
            user = authenticate(mobile=username, password=password)
        elif re.match(r'^.+@.+$', username):  # adsa@adsf  会有bug,用户名中如果有@,登录不了了
            user = authenticate(email=username, password=password)
        else:
            user = authenticate(username=username, password=password)

        if user:
            return user
        else:
            raise ValidationError('用户名或密码错误')

    def _get_token(self, user):
        try:
            payload = jwt_payload_handler(user)
            token = jwt_encode_handler(payload)
            return token
        except Exception as e:
            raise ValidationError(str(e))

    # 还要写别的
    def validate(self, attrs):
        # 1  取出用户名和密码,校验用户是否存在
        user = self._get_user(attrs)
        # 2 签发token
        token = self._get_token(user)
        # 3 把token放到序列化类对象中
        self.context['token'] = token
        self.context['username'] = user.username
        self.context['icon'] = 'http://127.0.0.1:8000/media/'+str(user.icon) # 这是个对象,可能会有问题
        # self.context['icon'] = user.icon  # 这是个对象,可能会有问题
        # 以后如果有问题,都抛异常
        # 如没有问题,返回attrs
        return attrs
路由
from django.contrib import admin
from django.urls import path, re_path
from home import views
from django.views.static import serve
from django.conf import settings
from . import views

from rest_framework.routers import SimpleRouter

router = SimpleRouter()
# 127.0.0.1:8080/api/v1/userinfo/user/mul_login
router.register('user', views.UserView, 'user')

urlpatterns = [
]
urlpatterns += router.urls
3 手机号是否存在接口
# get请求: 127.0.0.1:8080/api/v1/userinfo/user/mobile/?mobile=132222222
3.1 视图类
class UserView(ViewSet):
    @action(methods=['GET'], detail=False)
    def mobile(self, request):
        try:
            mobile = request.query_params.get('mobile')
            UserInfo.objects.get(mobile=mobile)  # 有且只有一个才不报错,
            return APIResponse(msg='手机号存在')  # {code:100,msg:手机号存在}
        except Exception as e:
            raise APIException('手机号不存在')  # {code:999,msg:手机号不存在}
4 腾讯云短信介绍和申请
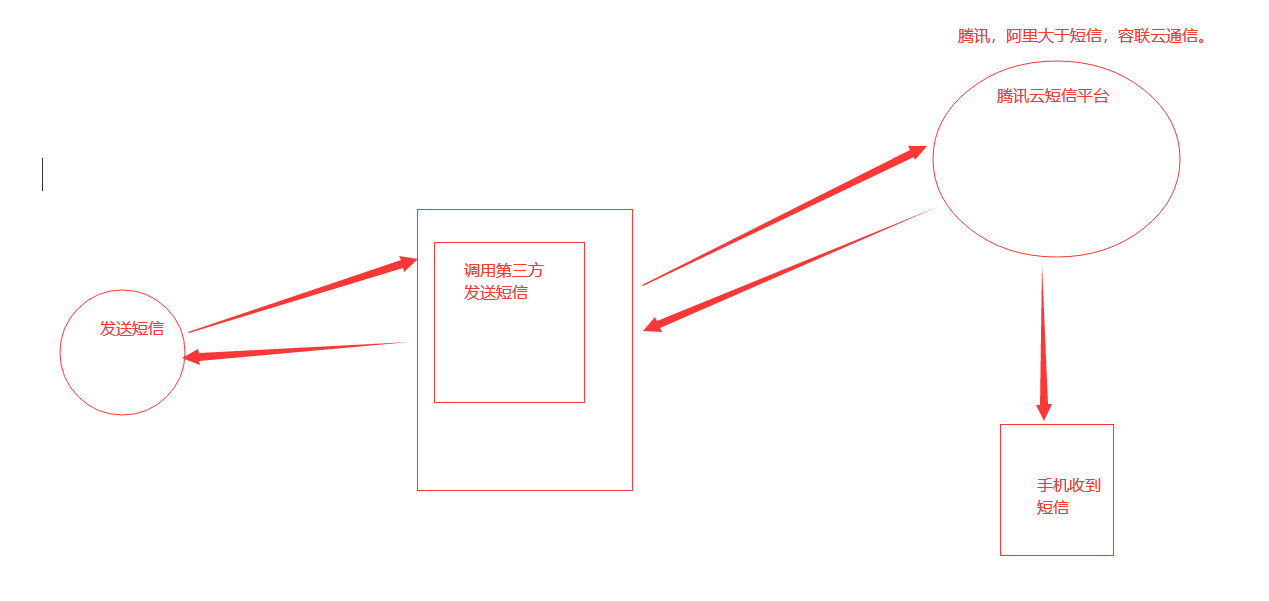
# 咱们要写发送短信接口,我们要发短信,借助于短信运营商
# 腾讯云开放平台,有很多开放的接口供咱们使用,咱们用的是短信
-注册平台---》找到短信
-https://console.cloud.tencent.com/smsv2
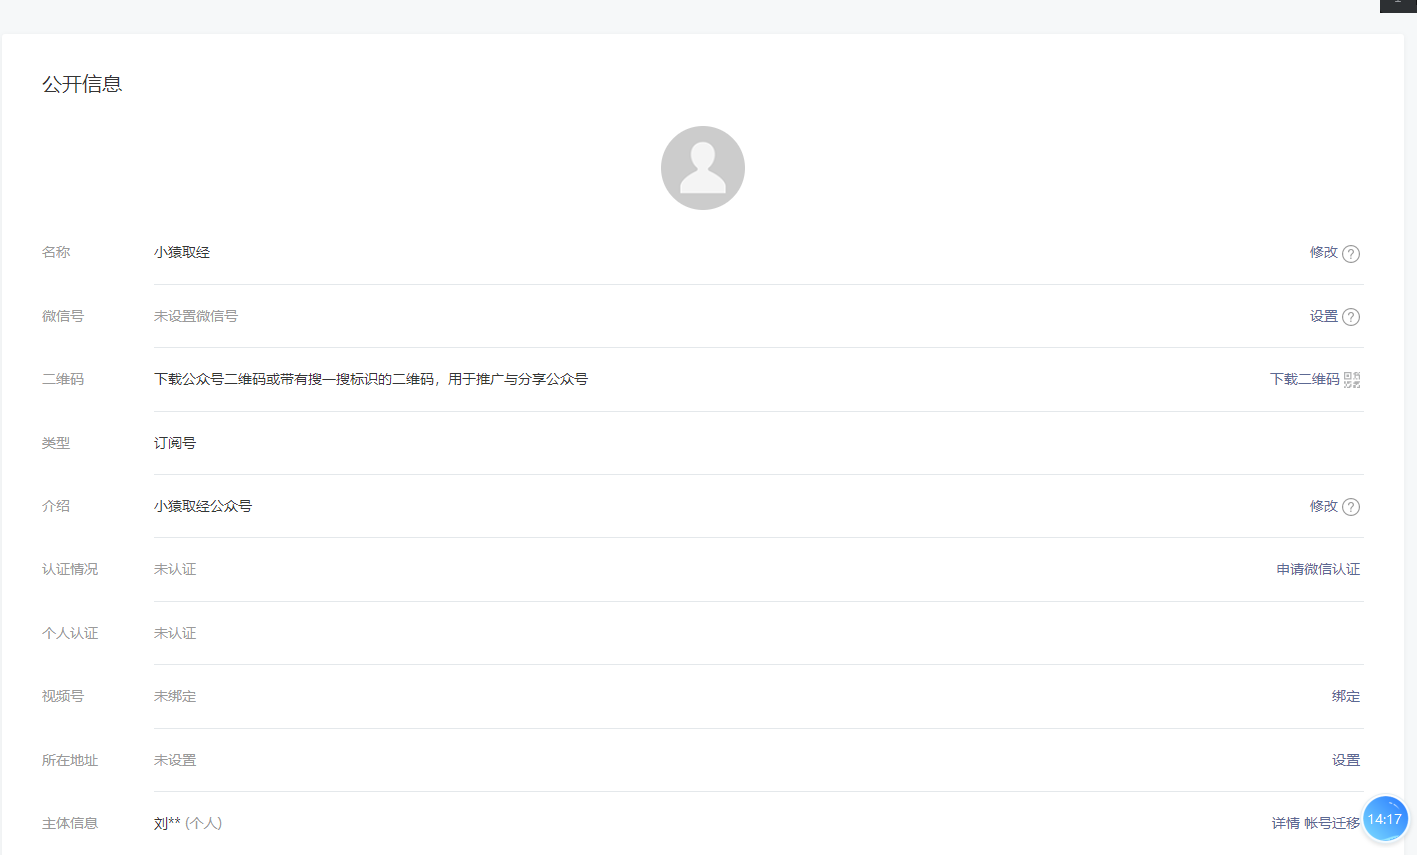
# 申请使用腾讯云短信:
1 创建签名:使用公众号申请
-网站:备案:工信部备案
-申请个人一个公众号:
-https://mp.weixin.qq.com/
-等审核通过
2 申请模板:发送短信的模板 {1} {2} 后期用代码填上
3 免费赠送100条
4 代码发送短信:参照文档写代码:https://cloud.tencent.com/document/product/382/13444
-v2 老一些
-v3 最新
4.1 什么是api,什么是sdk
# API文档
	-之前学的接口文档的概念
    -使用api调用,比较麻烦,固定输入,接受固定的返回
    -使用postman都可以测试,携带你的认证的秘钥。

# SDK:Software Development Kit 软件开发工具包
	-分语言的
    -基于API,使用某个编程语言封装的包
    -例如python:pip install 包
    	-包.发短信(参数)

   -一般厂商都会提供各大主流语言的sdk


# 腾讯短信sdk使用步骤
    1 已开通短信服务,创建签名和模板并通过审核    # 开了
    2 如需发送国内短信,需要先 购买国内短信套餐包。 #赠送了
    3 已准备依赖环境:Python 2.7 - 3.6 版本。    #我们有
    4 已在访问管理控制台 >API密钥管理页面获取 SecretID 和 SecretKey。
        SecretID 用于标识 API 调用者的身份。
        SecretKey 用于加密签名字符串和服务器端验证签名字符串的密钥,SecretKey 需妥善保管
    5 短信的调用地址为sms.tencentcloudapi.com。
原文地址:http://www.cnblogs.com/55wym/p/16878907.html
1. 本站所有资源来源于用户上传和网络,如有侵权请邮件联系站长!
2. 分享目的仅供大家学习和交流,请务用于商业用途!
3. 如果你也有好源码或者教程,可以到用户中心发布,分享有积分奖励和额外收入!
4. 本站提供的源码、模板、插件等等其他资源,都不包含技术服务请大家谅解!
5. 如有链接无法下载、失效或广告,请联系管理员处理!
6. 本站资源售价只是赞助,收取费用仅维持本站的日常运营所需!
7. 如遇到加密压缩包,默认解压密码为"gltf",如遇到无法解压的请联系管理员!
8. 因为资源和程序源码均为可复制品,所以不支持任何理由的退款兑现,请斟酌后支付下载
声明:如果标题没有注明"已测试"或者"测试可用"等字样的资源源码均未经过站长测试.特别注意没有标注的源码不保证任何可用性