
文件的上传:主要是两种实现方法:
- 1.如果定位的元素是type类型是file类型的话,那么直接定位元素并使用send_keys方法完成文件上传
- 2.如果是非file类型的话,则需要使用第三方工具完成文件的上传(AutoIT);
- AutoIT:AutoIT工具是一款免费的类似basic脚本语言开发的,可以实现window窗口的自动化测试;它还可以实现相关事件的组合操作(鼠标、键盘、window控制窗口等)并兼容其他语言(VB)完成相应的操作;是一款小巧灵活的工具并实现windows多版本兼容;
- 完成选择文件的步骤:
- a.获取文件上传所弹出的window对话框
- b.在文件名中输入选择的文件地址
- c.点击打开
- 完成选择文件的步骤:
- 下载的官网:下载AutoIT
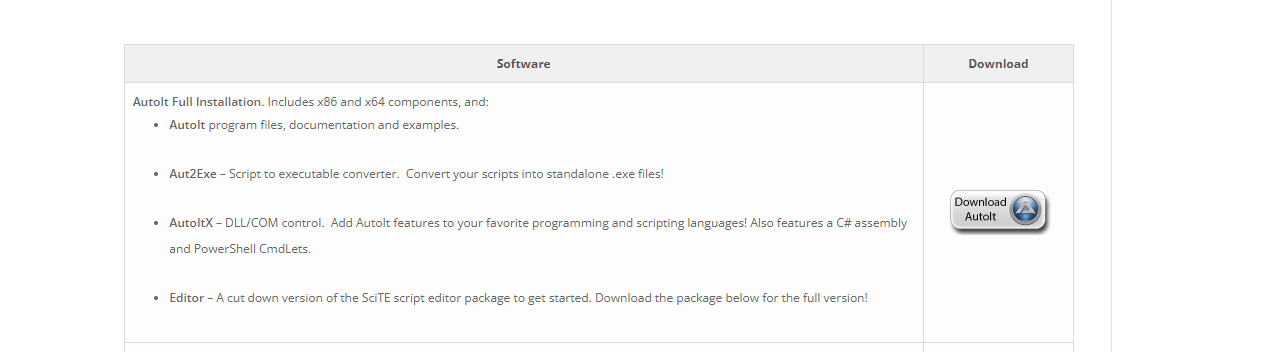
页面往下找,可以找到下面的点击download

选择第一个 Download Autoit
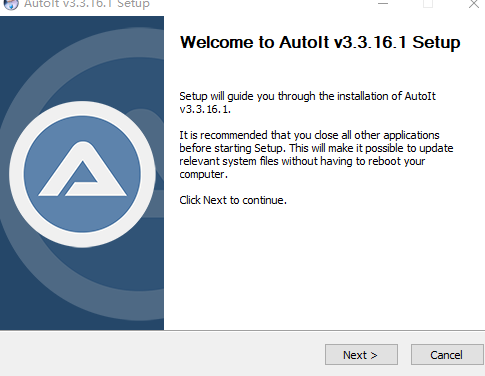
下载后解压 点击exe可执行文件,默认一件安装即可
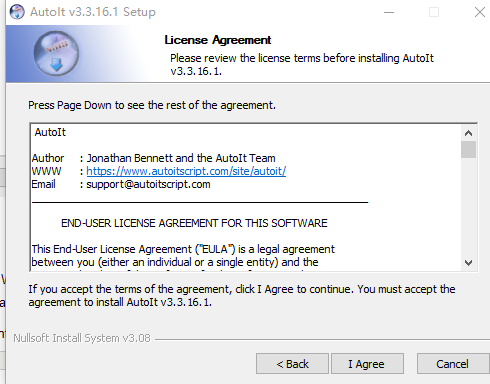
点击 I Agree
注意选择版本:

默认选择编辑 Edit the script

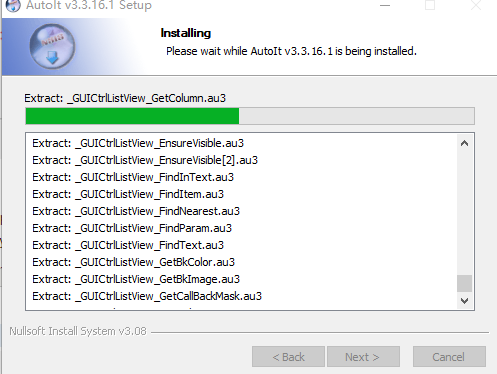
默认点击下一步完成安装
AutoIT的介绍:
-
AutoIt v3 is a freeware BASIC-like scripting language designed for automating the Windows GUI and general scripting. It uses a combination of simulated keystrokes, mouse movement and window/control manipulation in order to automate tasks in a way not possible or reliable with other languages (e.g. VBScript and SendKeys). AutoIt is also very small, self-contained and will run on all versions of Windows out-of-the-box with no annoying “runtimes” required!
AutoIt was initially designed for PC “roll out” situations to reliably automate and configure thousands of PCs. Over time it has become a powerful language that supports complex expressions, user functions, loops and everything else that veteran scripters would expect.
-
- Easy to learn BASIC-like syntax
- Simulate keystrokes and mouse movements
- Manipulate windows and processes
- Interact with all standard windows controls
- Scripts can be compiled into standalone executables
- Create Graphical User Interfaces (GUIs)
- COM support
- Regular expressions
- Directly call external DLL and Windows API functions
- Scriptable RunAs functions
- Detailed helpfile and large community-based support forums
- Compatible with Windows XP / 2003 / Vista / 2008 / Windows 7 / 2008 R2 / Windows 8 / 2012 R2 / Windows 10
- Unicode and x64 support
- Digitally signed for peace of mind
- Works with Windows Vista’s User Account Control (UAC)
文件使用的步骤
1.打开此工具,完成auto上传文件的编码操作

2.使用此工具,完成元素的定位操作

64位的操作系统就选择64位的操作系统
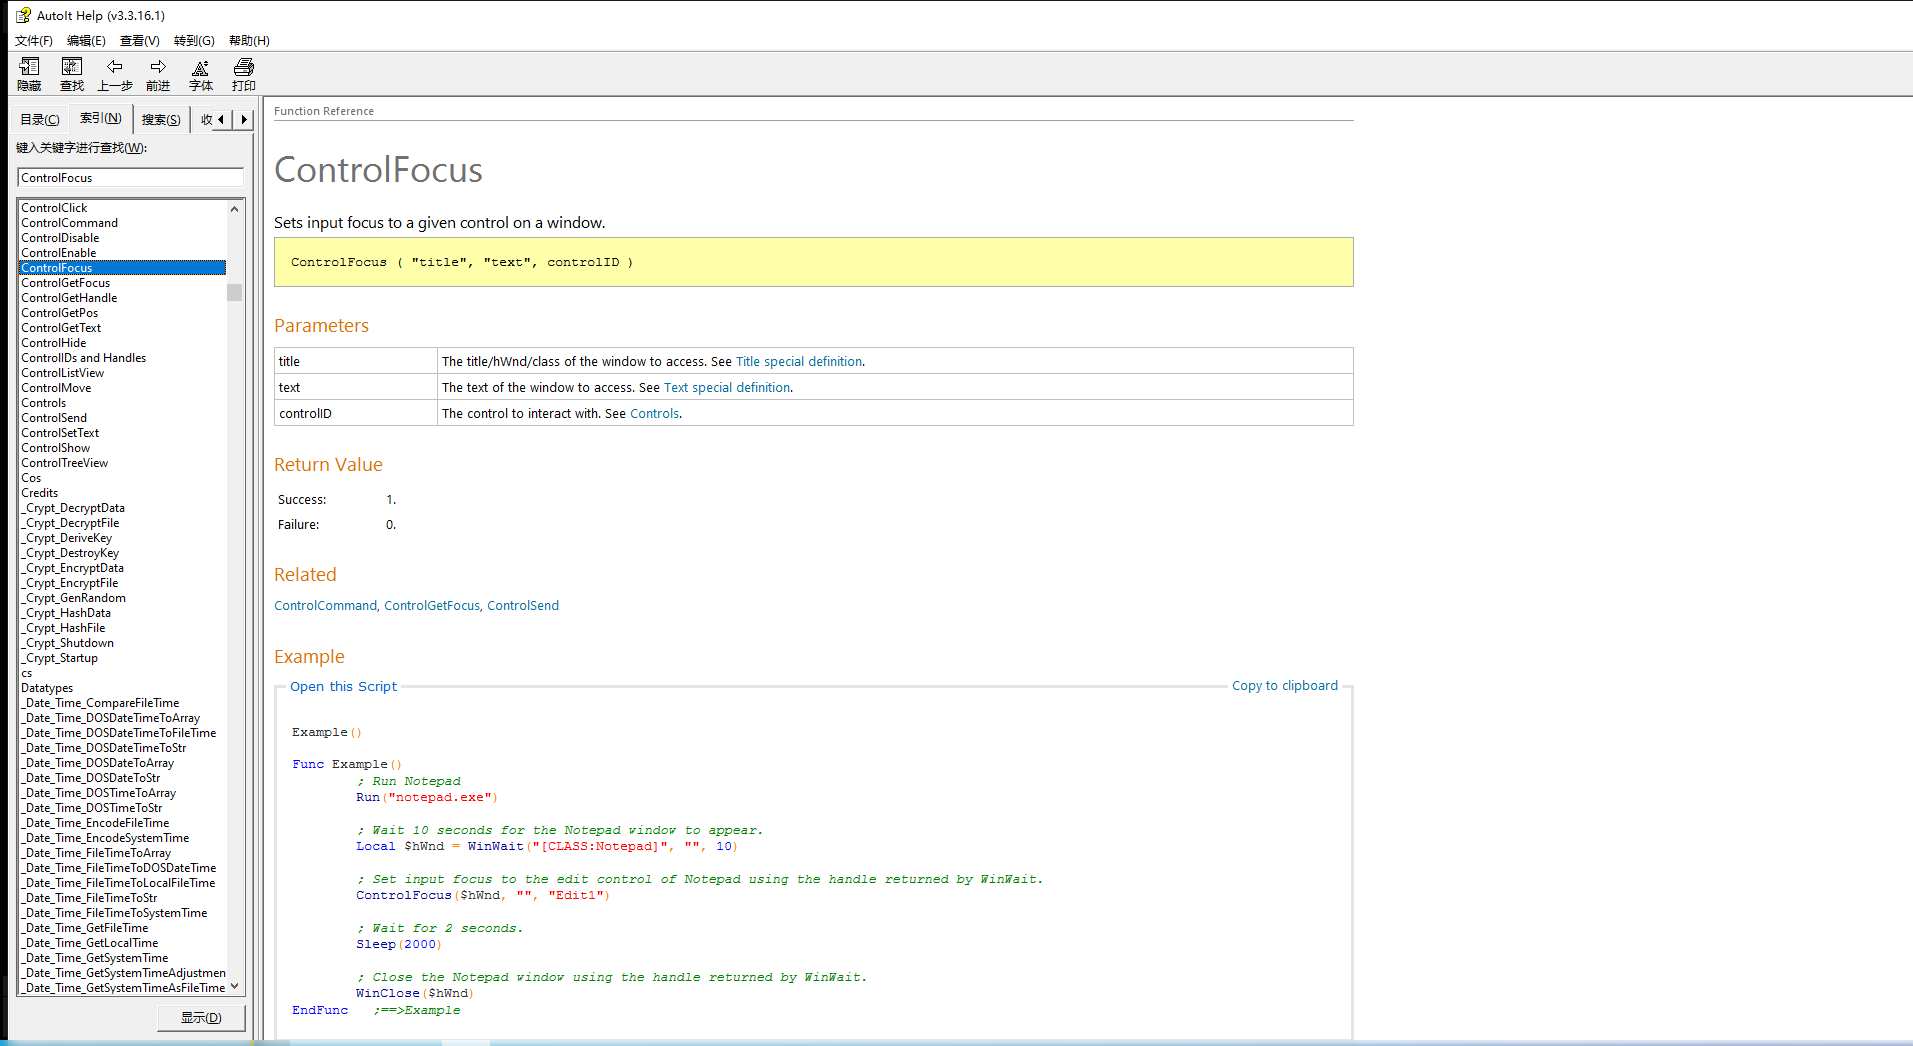
3.参照工具的编程语言的api文档,编写脚本

实例:
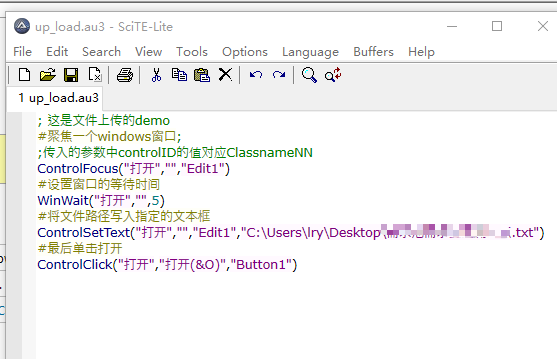
4.编写好的demo脚本(可以参考,但是不同浏览器打开windows的窗口不一样,因为元素的值不一样,不要无脑copy)
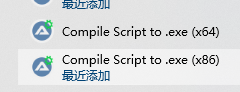
5.保存使用此工具将文件转换成exe
6.使用python的内置os模块调用exe完成文件的上传 嘿嘿嘿
sleep(3)
os.system(r"C:\Users\lry\Desktop\up_load.exe")
sleep(2)
原文地址:http://www.cnblogs.com/lirongyu-test/p/16780023.html